
Developing a Model of Light
Overview: Students observe many behaviors of light, and are introduced to the particle model of light, which they use to develop the idea of flux and luminosity.
Physical resources: Bright and dim light bulbs, 2 mini-maglights, red ball, red lightbulb, cardboard light blockers, screen/blank wall, radiometer (2?), 2 beakers of water, thermometer, tub of water (with milk), laser pointers, mirrors, solar cell, graph paper "detectors".
Electronic resources: Image of NGC 7789
Students free write in their wiki: What is light? What do you know about light?
Light observation stations 1: observing/distinguishing brightnesses/colors of different objects in everyday life
- Set up stations, each of which with two objects to be observed, and students have a short time to generate observations of the ways in which the objects are the same and different, and any questions that arise.
- Possible object comparisons:
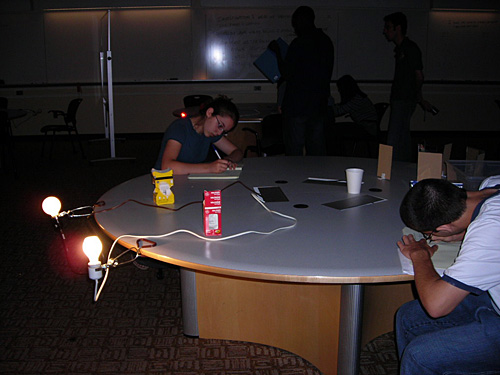
- Bright and dim bulb, with boxes showing "watts" and "lumens". Example setup: lightbulb observation.
- Close and far minimag light in "candle mode" so it looks like a point source, with viewing "frame" to force them to see one from a short distance and one from a long distance. (They should notice that one appears brighter than another, even though they are identical bulbs.) Example setup: distance observation station, distance observation station 2, distance observation station 3
- Image of different colored stars. Example setup: star color observation station
- Source of red light and an object that has a red color (i.e. reflects red light). Example setup: red bulb ball
- For each "station" groups have 1 minute to list observations about the ways in which the objects are the same and different, and questions that are raised by these differences.
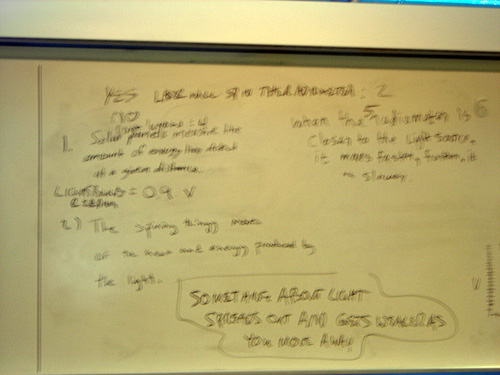
Instructor guides follow-up discussion to these questions, based on the observations written on the board:
1. What is the language we want to use to describe light?
- From observations, extract all the words we used to describe light, identify the ones that are important and/or confused/misused, and discuss a working definition or leave as an open question for motivating the next two questions.
- List words used to describe light (descriptions vs. units)
- Possible descriptions: light bright, dark, dim, colorful, muted, different "shades" of color. Be careful about bright/dim or light/dark dichotomy! They are not two different things, but rather different ends of the same measurement. In CAI, we emphasized that we were measuring brightness (flux, soon after) in an image and there were regions of high brightness/flux or low brightness/flux, not "bright" or "dim" regions.
- Possible units: watts, lumens, joules, other energy units, volts, amps, spectrum, photon.
2. How do we measure how "bright" something is?
- How could you tell for sure if one thing is brighter than another? Don't some things look brighter because of where they are?
3. How do we measure what "color" something is?
- What exactly do we mean by "color"?
- Do only sources of light have color or do objects have color? What is the difference?
Light observations stations 2: observations of the behavior of light which will help build the particle model of light
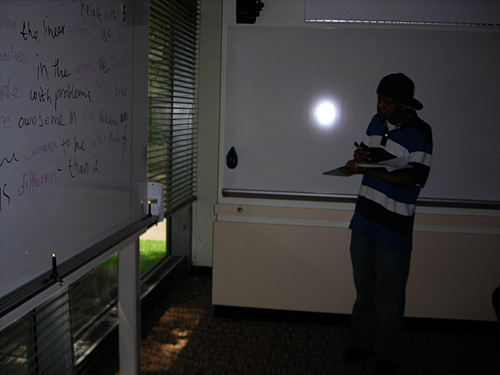
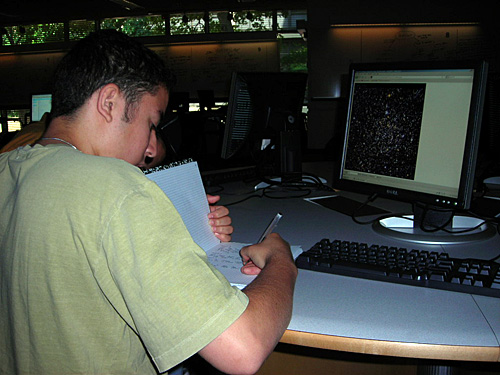
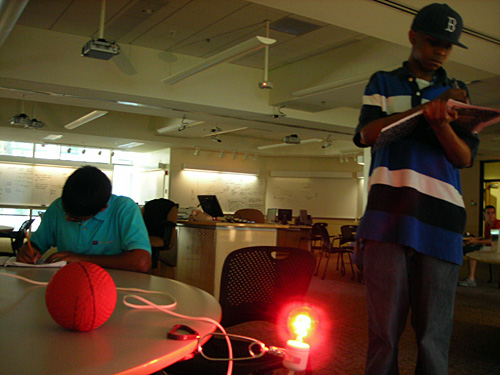
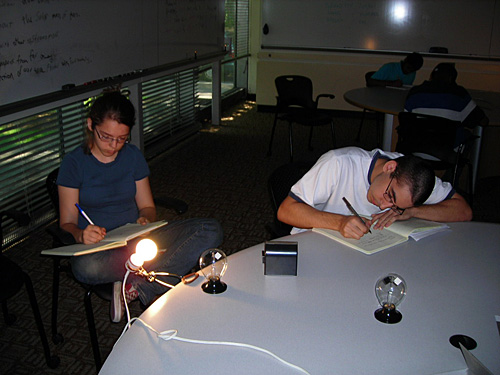
- Students have a few minutes at each station, to record in their notebook and on a whiteboard near each demo their most important observations and questions. See images of observation setups.
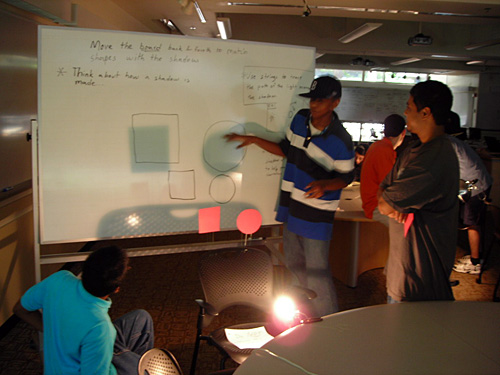
- Shadows made with cardboard cutouts: Have a fixed source, and blocker, and adjust the distance of the screen where shadows are projected and fit the shadows into pre made boxes. Also have unfixed blockers to experiment. Example setup: shadow observation station
- Students should string to trace the path of light from the detector to the shadow.
- Important observation: light travels in straight lines from the source, and can be blocked. "How are shadows made?" "Use string to trace the path of the light."
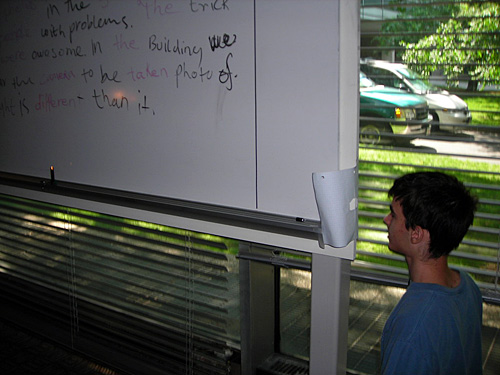
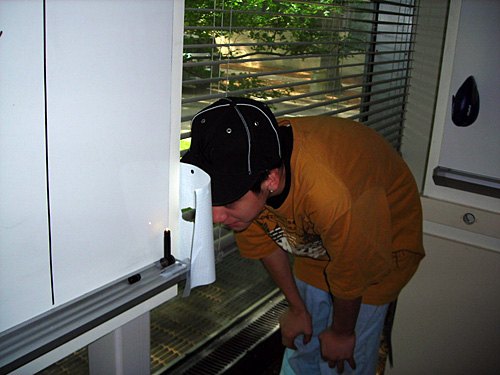
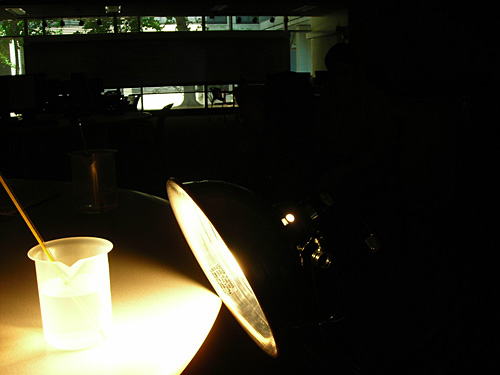
- Radiometer with solar cell detector. Example setup: radiometer observation station, radiometer observation station 2
- Important observation: Light gets "weaker" (spreads out) as you get farther from the source.
- Reflection of laser pointers off mirrors, in a tank of water with several drops of milk to see the path of light Example setup: laser observation station
- Have students trace the path of the light using string, as in the shadow station above.
- Possible challenge: have students hit a target by using a fixed laser, but movable mirrors. Why is it easy for them to predict where it might hit?
- Important observation: light travels in a straight line, and bounces off a mirror.
- 2 cups of water with thermometers: One close to a bright light, one out of the bright light. Example setup: thermometer observation station, thermometer observation station 2
- Set this up before the demonstration, so temperature has time to rise.
- Important observation: Light carries energy or has something to do with energy.
- Shadows made with cardboard cutouts: Have a fixed source, and blocker, and adjust the distance of the screen where shadows are projected and fit the shadows into pre made boxes. Also have unfixed blockers to experiment. Example setup: shadow observation station
Build and use particle model of light:
- Instructor introduces / builds the particle model, based on the observations made by students:
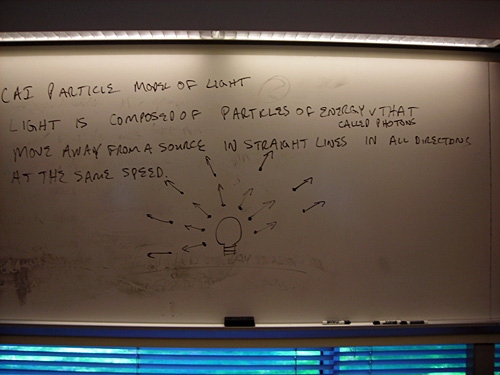
- Light is particles of energy that move away from a source in straight lines in all directions at the same speed. Notes: particle model
- Students use this model to make a prediction about a new system: by putting a mirror next to a source of light, will it increase the amount of light detected by the solar cell? Explain your prediction using the particle model of light with a diagram, and sentence using the words particle/photon, and referring to the particle model of light. Two drawings: one without the extra mirror, one with the extra mirror.
- If needed, use this model, have students confront any misconceptions or issues with their incorrect models of light.
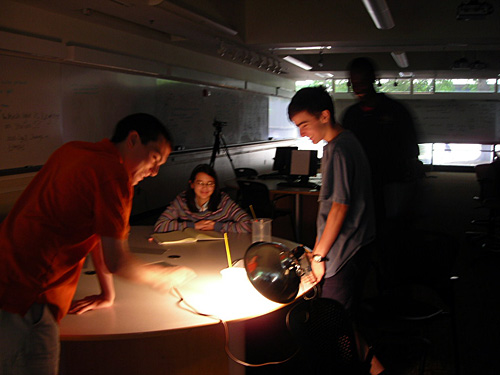
Developing flux and luminosity: Classroom kinesthetic model
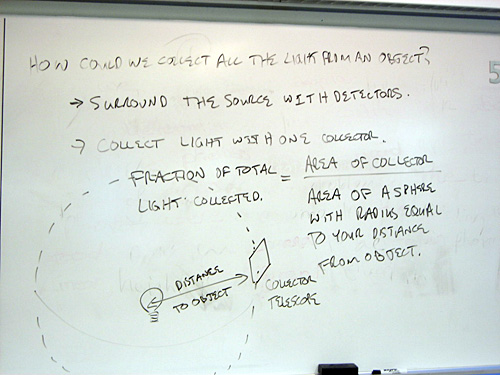
- Discuss: Our measurements of brightness (how bright something looks) can fool us because we only collect some of the light.
- Challenge How could we collect all of the light (total number of particles) coming from an object? That's the real physical quantity in which we're interested. Brainstorm with small group, then present ideas. (Possible ideas: Cover the source with many detectors, use reflectors to point all light at one detector, etc.)
- Introduce physical model of pieces of graph paper as collectors. Demonstrate that to collect all the light, we can enclose the source in a sphere of detectors.
- Challenge: What's different about collecting all the light if we put detectors close to the source of light vs. if we put detectors far away from the source of light?
- If we are closer, we need fewer pieces of paper, and they each collect more light, but if we are farther, we need more pieces of paper and they each collect less light.
- Wrap up discussion:
- The particles you collect is related to the quantity flux.
- The total amount of particles is related to the quantity luminosity.
- Fraction of the light you collect = area of your collector / area needed to collect all light * total light emitted Notes: flux collector area
Teacher tips/tricks:
- Timing: The entire sequence can take about 3 hours, with about 2 hours for observations and 30 minutes each for introduction of particle model and motivation of the difference between flux and luminosity. However, "Light Observation Stations 1" can be dropped if the motivating questions are brought up in the context of combined into one to save time. The important parts of the activity are the introduction of the particle model and the difference between flux and luminosity, but students should have made sufficient observations to enable them to understand how these models are built on observations.
- It is important for students to share their one or two most important observations for each station—writing on a whiteboard is particularly useful, as it allows the instructor to pick and choose the ones he or she wishes to emphasize when "building"/presenting the particle model of light.
- Students can keep their notes only on the whiteboard, but this may discourage creativity, once they move past the first station. However, taking notes in their notebooks and then transferring to the whiteboard does take additional time.
Assessment ideas:
- Reflection: another student explains that you can't get more light energy by reflecting?
- Why do car headlights have reflectors on them?
- Predict: what would you expect to see differently through the two telescopes with different apertures? What do you see? Why? Explain in terms of our particle model. Should draw a diagram showing collecting only through smaller area.