
Models in Science / Simple Telescopes
Overview: Students make a model of a 3D arrangement of blocks and then refine it, based on the quality of predictions it makes and their resulting observations about those predictions. Students then learn to project an image with a curved mirror.
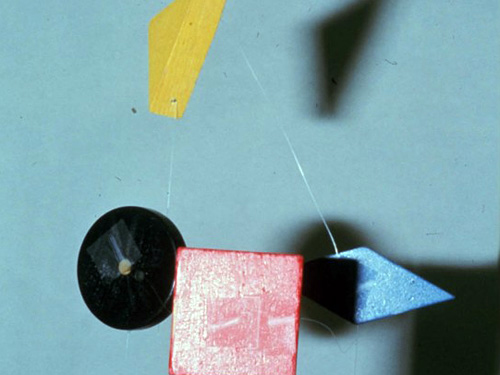
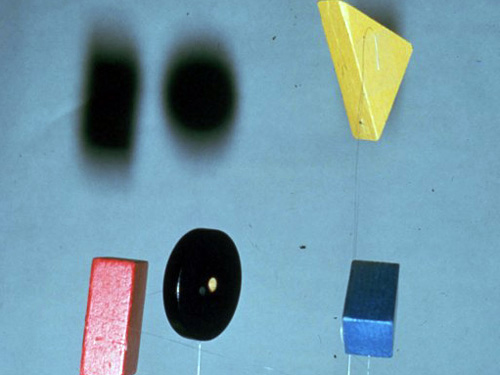
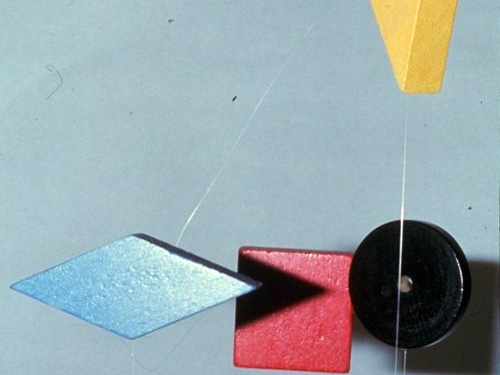
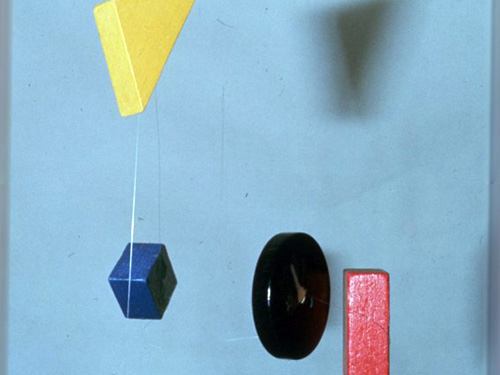
Electronic resources: pics of hanging blocks which students will model: perspective 1, perspective 2, perspective 3, perspective 4
Physical resources: colored clay, Styrofoam blocks, flower wire for supporting clay, colored pencils for drawing predictions.
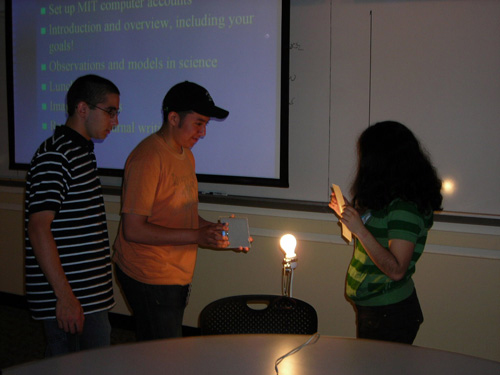
Building model of blocks: Observations vs. models vs. predictions:
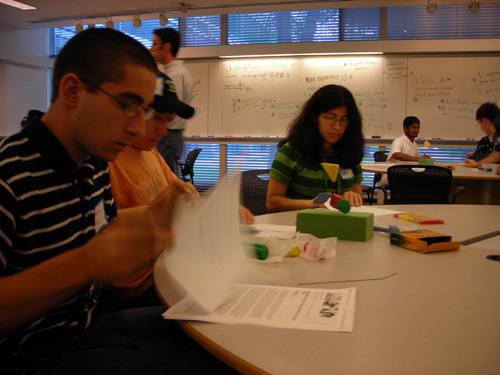
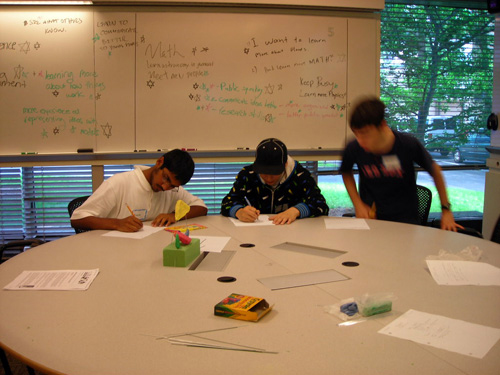
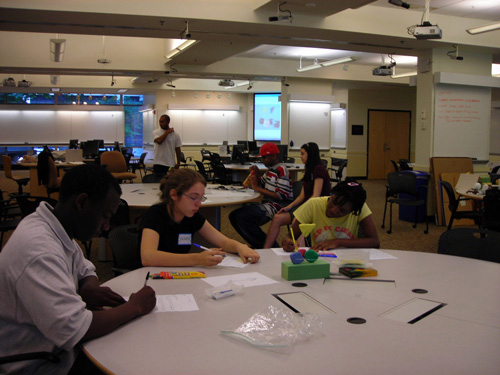
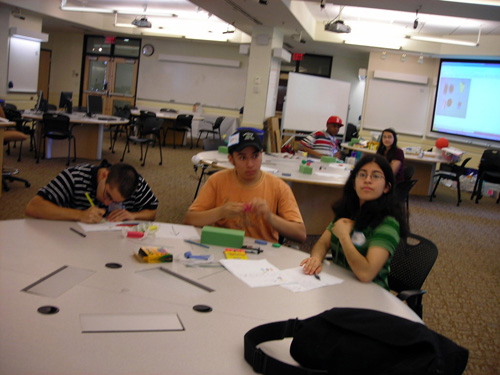
- Small groups of youth write down observations about the first image, with first couple observations given by instructors as examples (i.e. "the front face of one block is red" or "the red part overlaps the blue shape").
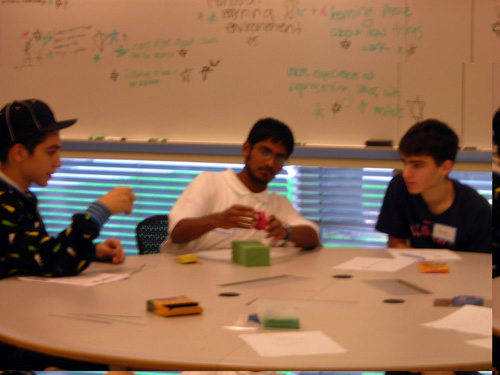
- Youth build a physical 3D model of the system with clay and straws, based on observations of the first image alone.
- Images of modeling process: clay modeling 1, clay modeling 2, clay modeling 3, clay modeling 4 , clay modeling 5
- Youth make predictions (actual 2D color sketches) of what the system looks like from another specified perspective. We'd also show some more outlandish models that still explain the first observation (i.e. blue diamond object extends very far back as a tall box, or back of red square is actually purple).
- Youth physically label the 3D object as "model" and the 2D drawing as "prediction." Youth groups do a peer review on the predictions other groups have drawn from their model, to make sure the predictions are consistent. (This also allows them to see the range of models created.)
- Then youth get to see the observation of the second perspective (i.e. new data that results from a testing experiment). They check their predictions against this new observation, and some may have to revise their model to reflect the new data. Our "outlandish" models would definitely have to be revised. Peer review is repeated.
- We repeat this process for the remaining 2 "new observations", until all groups have an accurate model, which should mostly be the same. However, there will be some differences possible (i.e in the 4 observations, we don't see every side of all objects, and we don't see internal structure of the objects...)
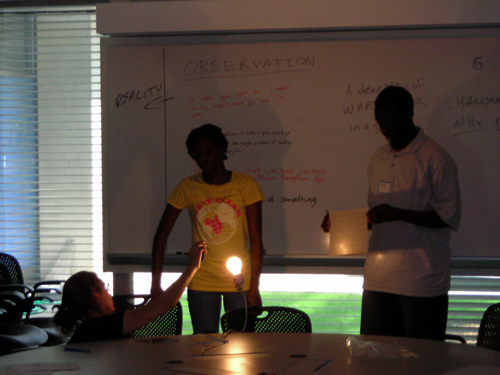
- Wrap up discussion: Groups come up with their working definition of each of the first three terms, and instructor wraps up discussion with final question.
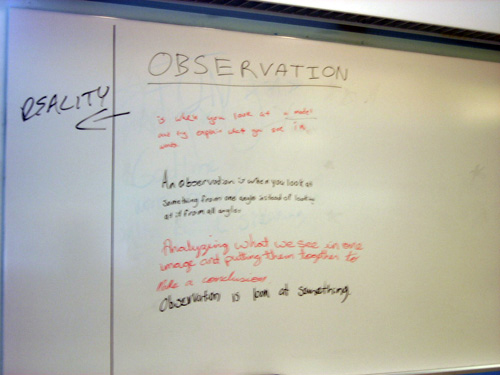
- Observation: (a description of what has happened in a particular situation)
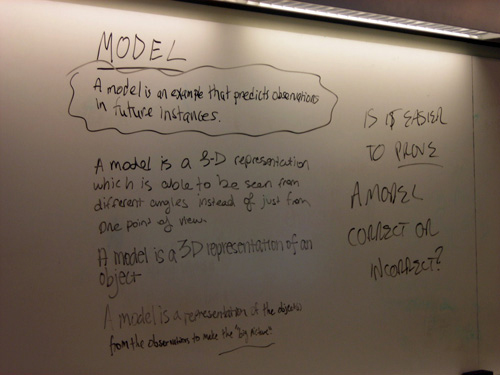
- Model: explanation, theory (an explanation of why something happens or looks a certain way)
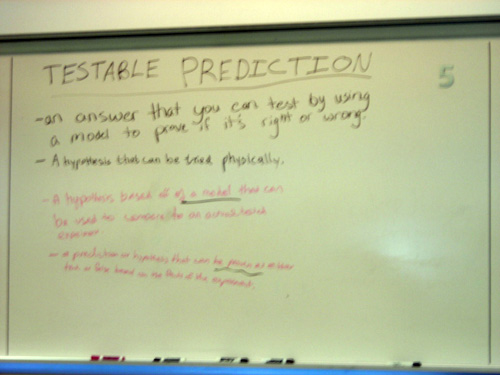
- Testable prediction: a description of what will happen, that you could then go and observe
- Law: a statement of what always happens in a situation (does not include why!)
- Written notes: observation definitions, model definitions, prediction definitions
- Question: what's easier, proving a model is incorrect or correct? Can we prove something correct?
Teaching tips/tricks:
- Timing: takes about 90 minutes, including only three observations of the blocks.
- Youth may not be used to peer review—instructor giving a simple example with an incorrect prediction from one of the example models might make it clearer.
- Ask the students "Why did we do this activity?" to get them thinking about what they are learning and how they are learning it. They can write this in notebooks, or on the board for sharing, if time allows. This is used generally throughout the CAI.
Assessment ideas:
- Write "what is the difference between an observation and a model?"
- Which of the following is a model or observation (listing of several simple statements)
Simple Telescope Model
Electronic resource: Simple telescope model
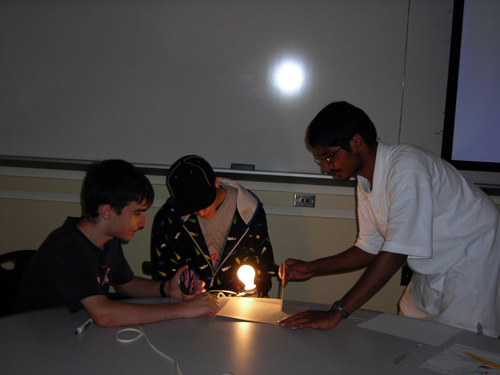
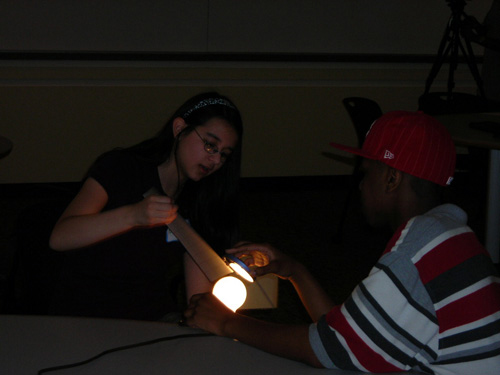
Physical resources: bulb with pattern drawn on it, curved makeup mirrors, flat mirrors, cardboard with grid of "pixels" drawn on it.
- Instructor introduces three basic parts of a telescope: target, mirror, detector. Challenge them to produce an image using these parts.
- Images of students at work on this task: focus image 1 , focus image 2, focus image 3, focus image 4
- Ask students to trace with their finger the path of the light which makes the image.
- Zoom into any electronic image to motivate the idea of pixels (picture elements), then show an image of a detector up close to show the actual silicon pixels where light is collected.
Teacher tips/tricks:
- Youth find it easier to trace the path of light directly from a source, but their descriptions may allow instructor to see misconceptions about light that could be dealt with in Investigation 2.
- Having flat mirrors as well as curved can be confusing if they try to use both together. If so, encourage them to use only one mirror to make an image.
Assessment ideas:
- Draw the path that light takes to make the image.
- Why would astronomers want small pixels instead of large pixels (as on the cardboard "grid").